You can translate almost all your store's images with langify. Because these images are stored and rendered differently in your store, they have to be translated in different sections. Below you will find 4 translation approaches, depending on where the image was added within your Shopify admin. These options include:
- Translating images added via the Shopify Theme Customizer (e.g. images on the homepage)
- Translating images attached directly to a product/collection/article
- Translating images within a description text
- Translating images via Custom Content
If you're looking to translate the alt-text of your images, please have a look at our guide Image Alt Text Translations.
Images from the Theme Customizer
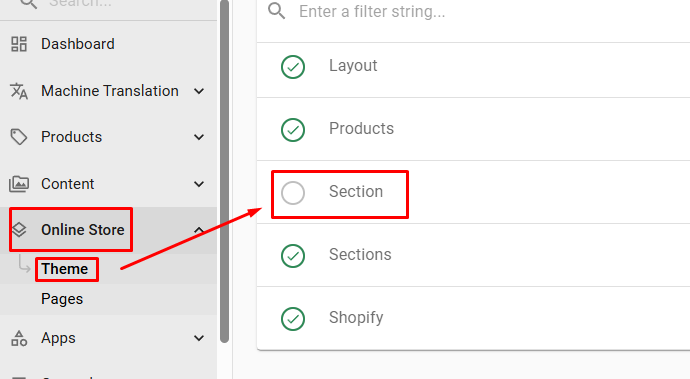
If you have added an image to your theme via the Shopify Theme Customizer, then it can be translated at langify -> Online Store -> Theme -> Section.
Step 1 — Upload the Translated Image
Go to Shopify -> Content -> Files and upload your translated image. Take note of the image name as you will need it again in step 3.
Step 2 — Find Out the Original Image Name
In order to find the right field to translate the image, it is helpful to first find out the name of the original image so you can use this as a search term. If you already know the original image name, you can skip this and go to step 3.
To find the original image in Shopify, please go to the Theme Customizer (Shopify -> Online Store -> "Edit Theme"), and then find the section that contains the image. In this example, the image was added in the "Hero" section: 
To view the image name, please click on "Hero" to open the section, and then click on the pencil icon. This is an option to edit the image, but you can also use it to just find out the image name. 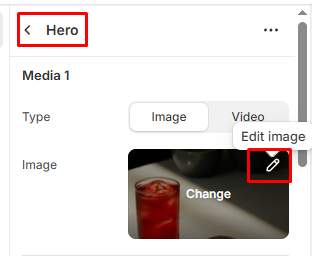
Clicking the pencil icon will lead you to the image's information page where you can find the image name: 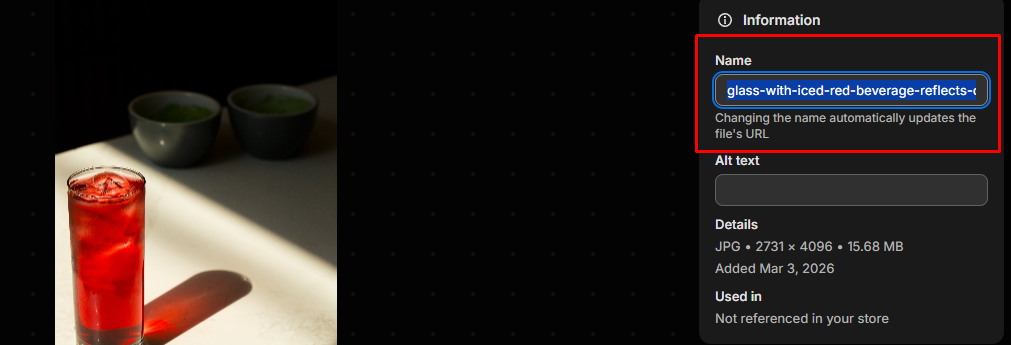
Step 3 — Translate Your Image
Once you know the original image's name, you can go to langify -> Online Store -> Theme and enter this as the search term into the search bar at the top: 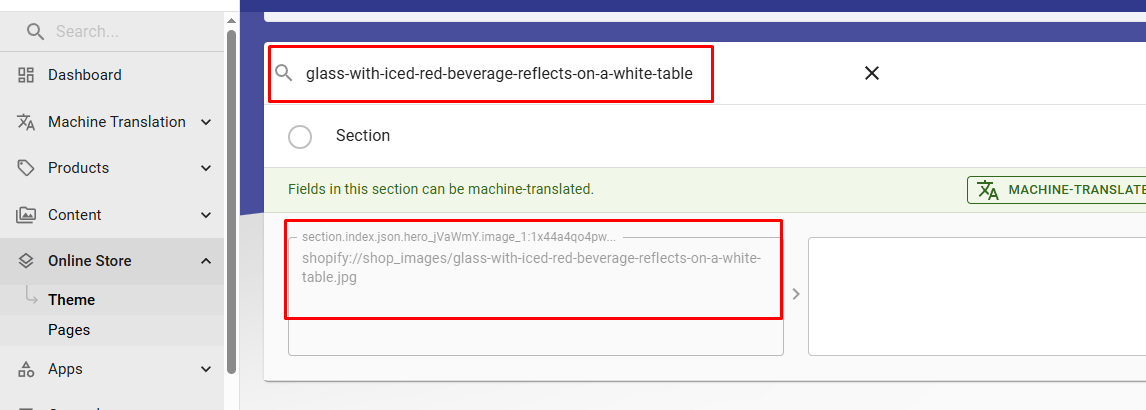
To translate the image, please make sure the structure mirrors the original link on the left. Simply copy over the first part shopify://shop_images/ like here:

and append the name of your translated image, plus its file type:

After adding your translation, please remember to click the blue Save button in the top-right corner.
Product/Collection/Article Images
If you have added the image to a product's, collection's or article's dedicated image section in your Shopify admin, then you can translate these inside the Images tab of the respective item in langify.
In the below example you'll find the steps to translate a product image.
Step 1 — Find the Product in langify
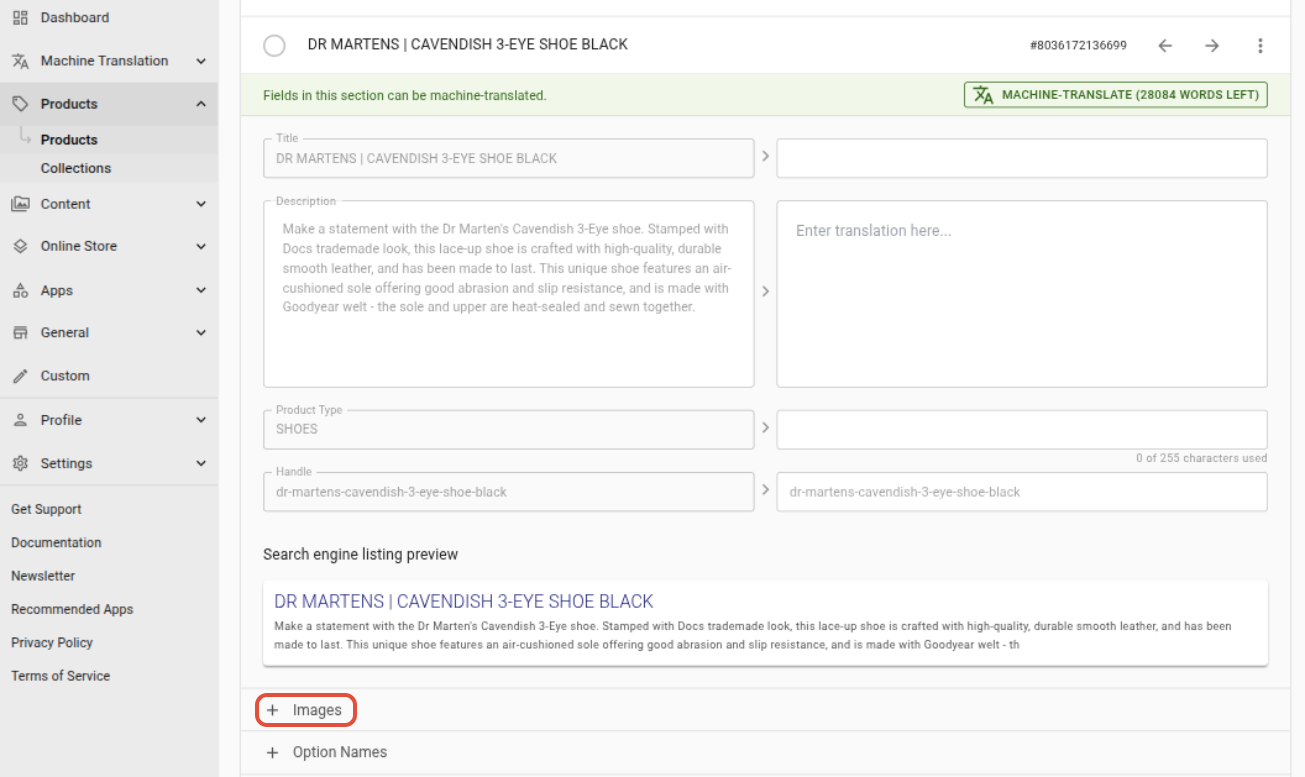
In langify, go to the Products section and open the product the image belongs to, then scroll a bit down to find the Images tab.
Step 2 — Choose the Image You Want to Translate
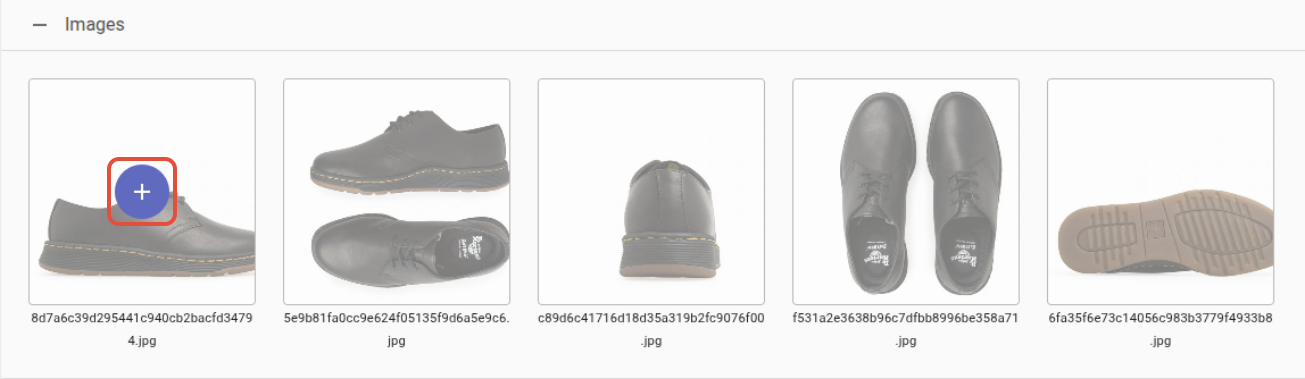
Once you've opened the Images tab, you will find all images attached to this product. To translate one of them, hover over the image and then click on the plus icon:
Step 3 — Translate the Image
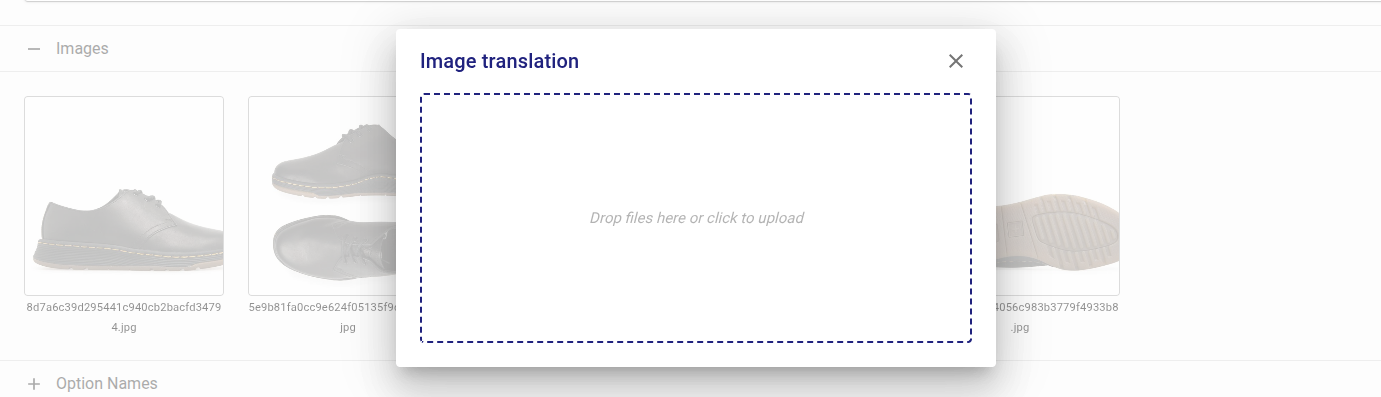
A popup will appear where you can upload your translated image:
After uploading your image, don't forget to click the blue Save button in the top-right corner.
Please be aware that the image translation is based on the image's URL. So, if you change the URL or title of the original image, the image translation will stop working and has to be done again.
Images within a Description Text
If you have added an image within a product's, collection's, article's or page's description text, you can translate them within the text itself.
To translate such images, please go to the description text of the respective item in langify. Click into the text at the place where you want the image to be inserted. Then, to insert your translated image, click on the plus icon on the left side of the toolbar, and select the Image option: 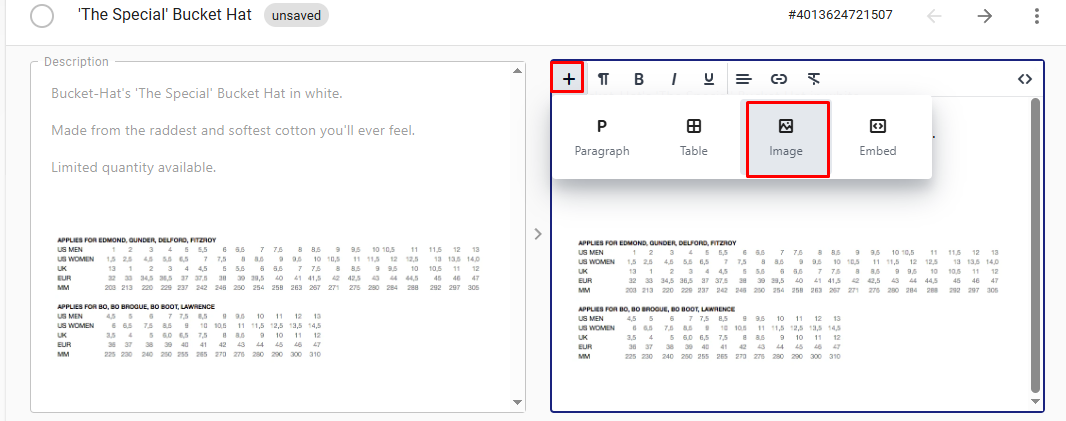
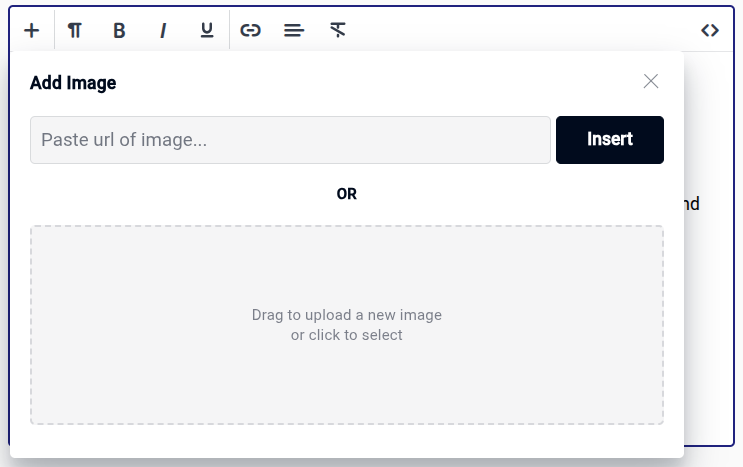
A popup will appear where you can paste the link of an already uploaded translated image.
Or you can click into the grey box to select an image, or drag and drop an image from an open folder on your device.
Any Other Image
If the above guides do not apply to your image, you can still translate any image via langify's Custom section. This is especially helpful for images added by third-party apps.
If you have never worked with Custom Content before, please first have a look at our general guide Custom Content translations. Make sure the langify app embed is enabled in your theme. Otherwise, Custom Content translations won’t be applied.
Watch our video or check the step-by-step guide below.
Step 1 — Find Out the URL of the Original Image
Open the page in your storefront where the image appears. Right-click on the image and choose one of:
- Open image in new tab (recommended), then copy the URL from the browser’s address bar, or
- Copy image address or Copy image link
Step 2 — Set Up a Custom Content in langify
Go to langify -> Custom and choose a subsection. If you're not sure where to add it, just use the "Global" subsection.
Create a new Custom Content and enter the original image's URL that you found out in step 1.
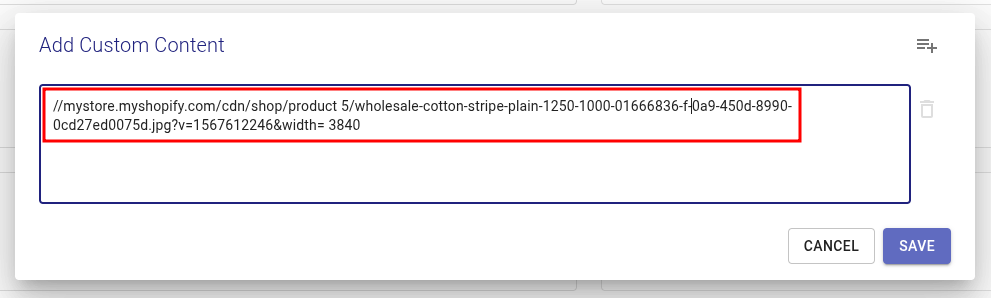
Click on the blue Save button in order to create the new Custom Content.
Step 3 — Translate the Image
Now you can enter the URL of your translated image into the right field of the newly created Custom Content.

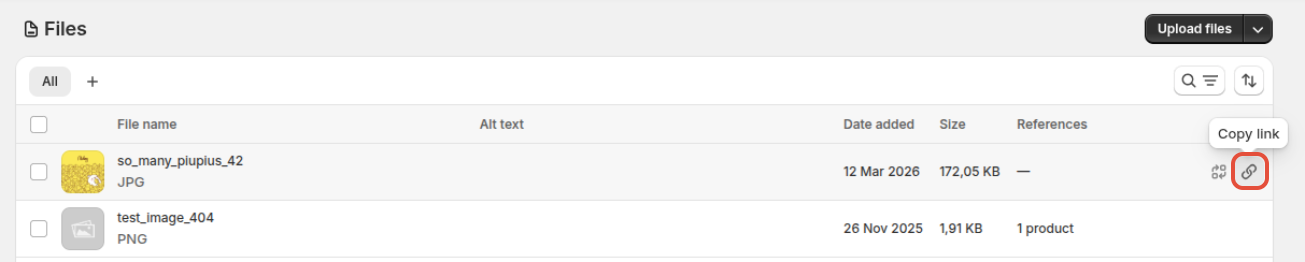
If you do not have a URL for your translated image, because you haven't uploaded it yet, then please go to your Shopify admin area and upload the image at Content -> Files.
Once the image has been uploaded, copy its URL by clicking on the chain-link icon on the right side: