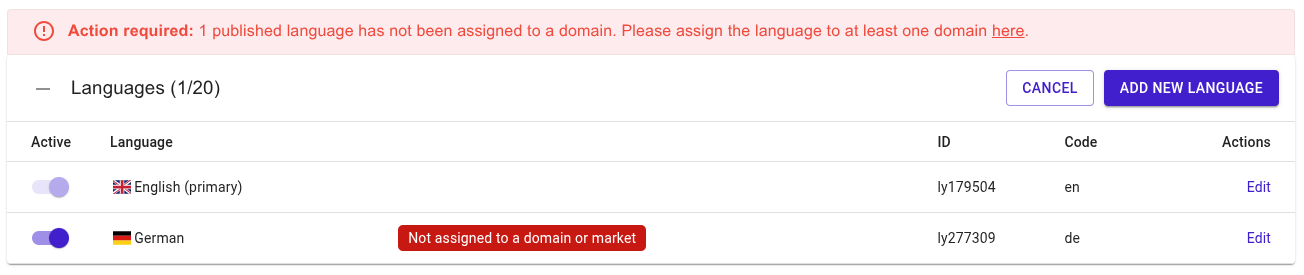
In order for your customers to be able to see your translated pages, it's important that your language is published and correctly assigned to a domain or market. As long as a language is published but not assigned to a market, langify will show an error message "Not assigned to a domain or market" in the Languages tab.
Where exactly you have to assign your translation languages depends on your Shopify Markets setup. Typically, you will assign a language to either a domain or a market.
Below, you will find three different types of market setups and a description how to assign your translation language in each case:
Which setup to choose depends on your marketing strategy. In this Shopify guide you will find pros and cons of each approach: https://help.shopify.com/en/manual/international/managing-international-domains#choosing-seo-strategy
Default Case (minimal setup)
If you're just starting out, you probably have no custom market configuration. Meaning, your languages are simply assigned to the main domain of your store.
Watch our video tutorial, or follow the intrsuctions below to learn how to assign your translation language to your store's main domain.
Instructions
You can assign a translation language by going to Shopify > Settings > Languages.
Here you can click on the ••• icon to the right of the language that you want to assign. Then, click on Assign to domain:

Depending on how many domains you have connected to your store, the following popup will contain more or less options.
Choose a domain to assign your language to. In this example, for a simple setup, we assign our German translations to our main domain:

Some of these example domains are marked as "no markets are using this domain". That means the domain is currently not available for your customers, and assigning a language will not make it available either. If you want to display your translations on such a domain, make sure that the domain is assigned to a market at Shopify > Markets.
Custom Domains
"International domains are available on the Basic Shopify plan or higher."
Shopify Help Center, International domains
In this example, we set up a market for Germany and connect it to its own domain that is different from your store's main domain.
In order to achieve this setup, we first select the Germany market in the Shopify Market settings, and customize its Domain / language setting by assigning a custom Germany .de domain:

In the example screenshot above you might notice that the Germany domain is marked with "English". This means, the English language is currently already available on this market.
You can remove English, or change the default language of this market later, once the Domain / language setting is customized.
Now, to assign your translation language to this market, you go to Shopify > Settings > Languages. Here, click on the ••• icon on the right of the language and choose Assign to domain.
On the "Germany" .de domain you will note that Shopify says it is used for the "Germany" market. Choose this option to assign the language German to the "Germany" market:

If you have spread your languages across different markets, and would like your customers to be able to freely choose between them via a language switcher, you can achieve this by enabling langify's Market Domain Links in the Switcher Configurator. Read more about this feature in our guide Market Domains.
Subfolder Suffix
As a third option, you can have a market that uses the same domain as your store default, but has its own subfolder suffix.
In this special case you need to assign a language to this market directly within the settings of that market.
A suffix is a bit of text added to the end of a subfolder name to give more details. For example, if you have a subfolder named/defor German, adding a suffix can change it to/de-de. This indicates German content related to Germany, in contrast to for example/de-atwhich could indicate German content related to Austria.
In this example, we first apply a subfolder suffix to the market. To achieve this, click on the plus icon to the right of Domain / language and then choose the bold option that says New subfolder on...

Now you will have the option to edit the suffix and assign further languages to this market:

Choose one or more languages to add, then click on Done to save your changes.
That's all - now your language is assigned to a market and available to your customers.
For other details you can find Shopify's guide on markets and languages at https://help.shopify.com/en/manual/international/localization-and-translation#manage-markets-languages.